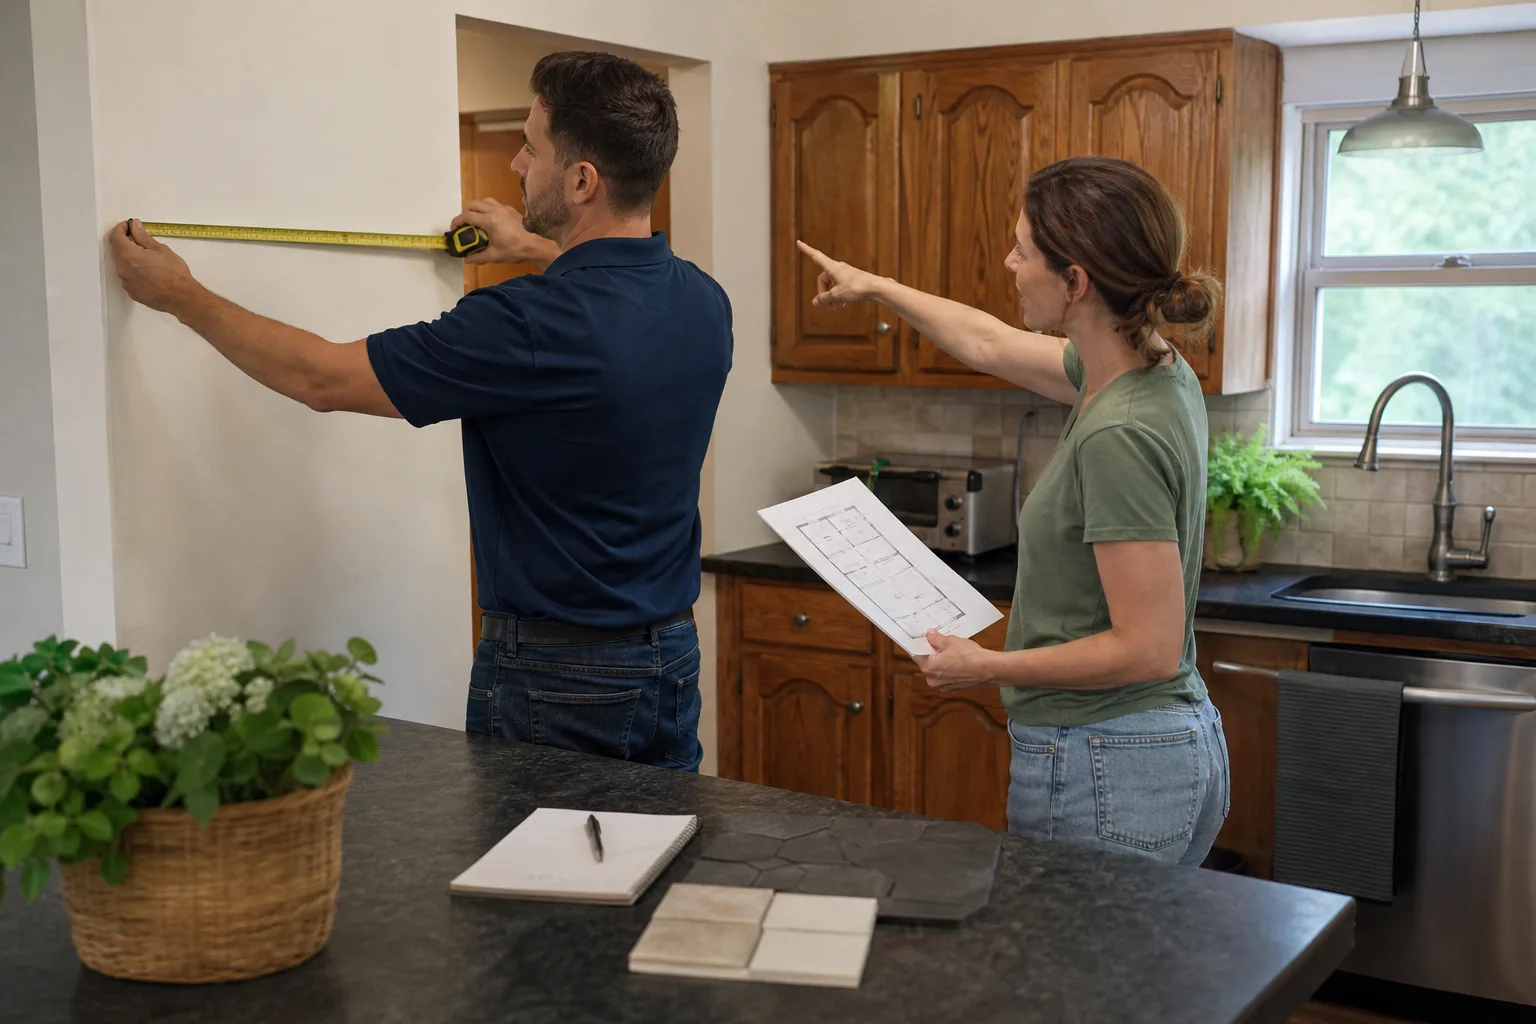
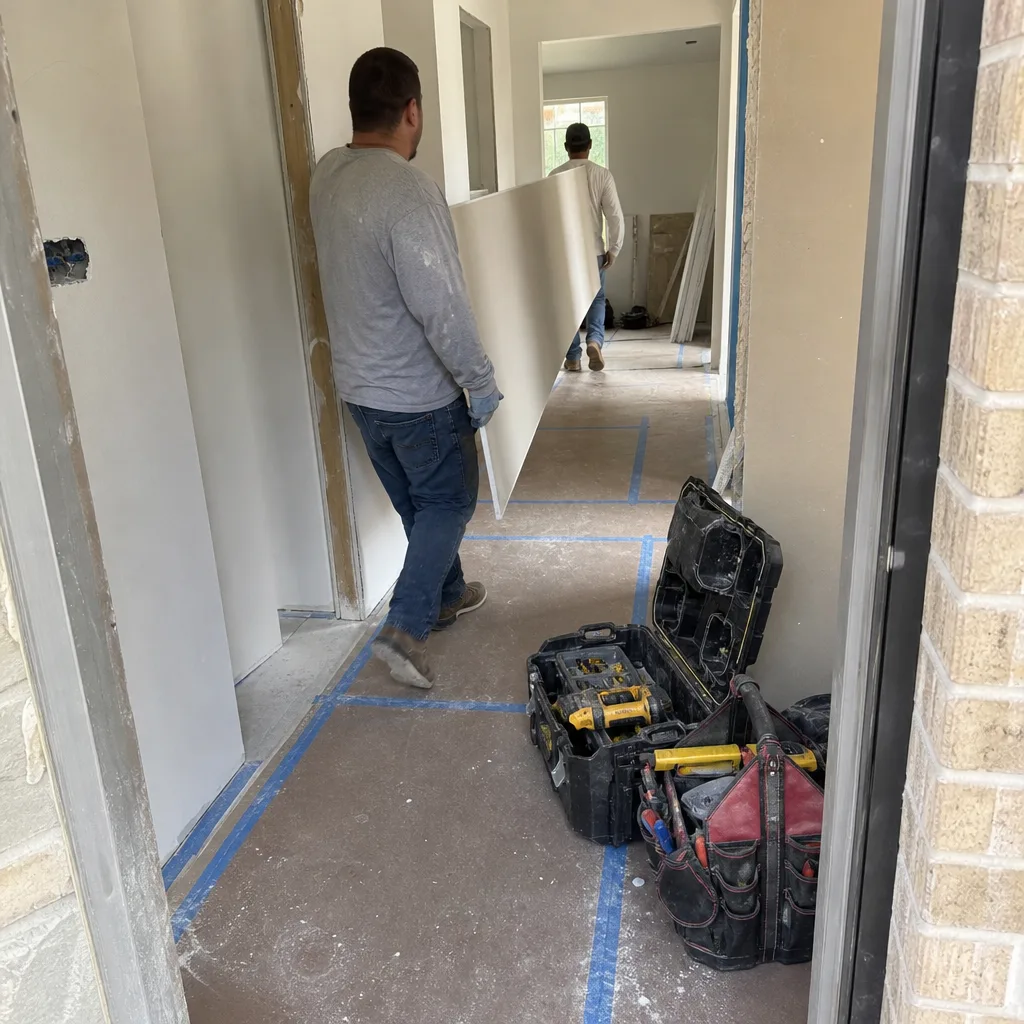
Last updated November 18, 2026

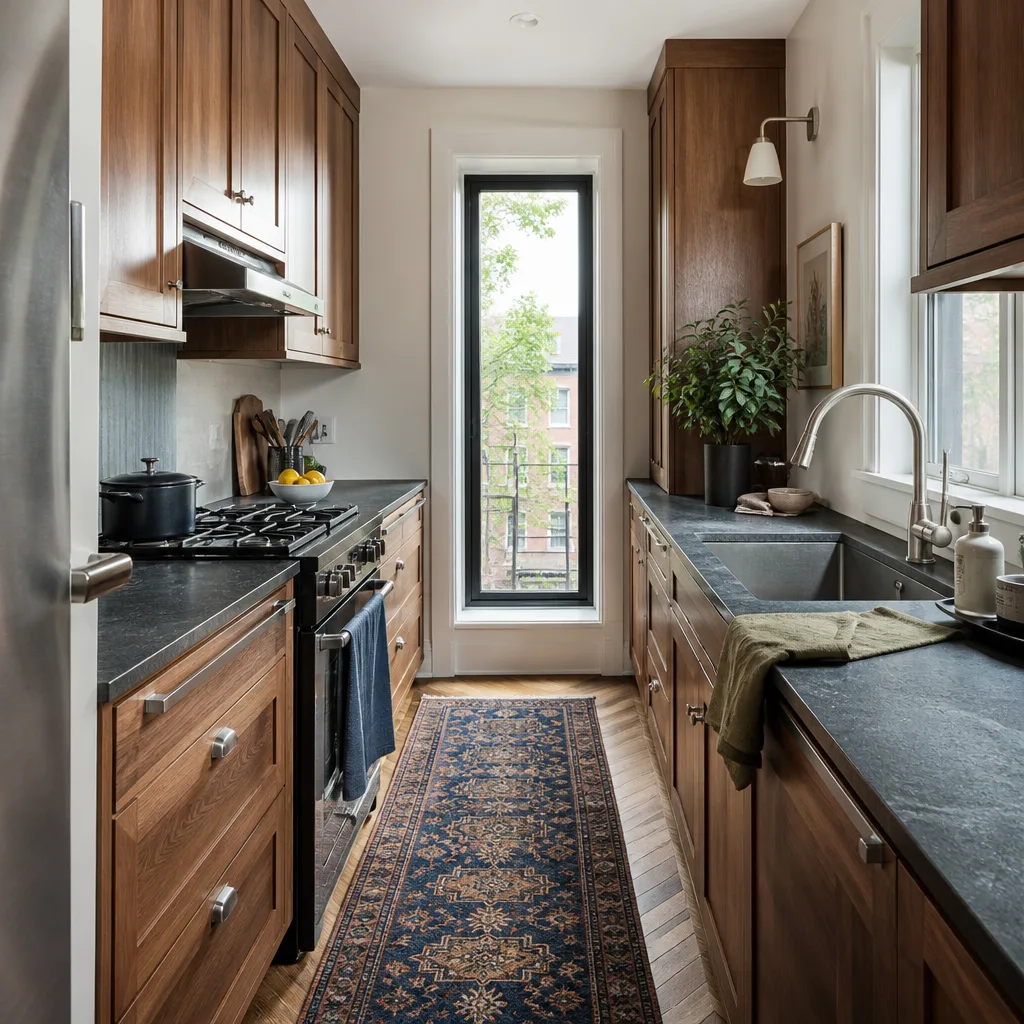






Free written scope consultation - allowances, timeline, and change-order rules on paper before a single trade is scheduled
Kitchen Remodeling Troubleshooting: Common Problems and How to Fix Them
The number-one source of kitchen remodel disputes isn’t cost overruns. It’s cabinet installation defects that homeowners sign off on during a rushed walkthrough and then can’t get corrected once the final check is cashed. A homeowner in McKinney signs a punch list, the crew packs up, and three weeks later the doors start rubbing. That’s the pattern. Kitchen problems cluster around three moments: the end of demo, cabinet installation, and the final punch. Your leverage is knowing which problems are still the contractor’s fix and which ones you accepted at sign-off. This guide covers the specific defects, how to document them, and how the trades set the tolerances you can hold a crew to.
Quick Answer
Most kitchen remodel problems are fixable without a full redo, but only if you catch them before the next stage of work covers them up. Cabinet runs that are out of plumb need to be corrected before countertops are templated, and tile defects need to be documented in writing with a reference to the applicable standard before you pay. Once you’ve signed off on the punch list, the contractor’s obligation shrinks to whatever the written guarantee covers – which is exactly why the written agreement matters more than the promise.
Styles & brands we work with
- Kitchen remodeling
- Bathroom remodeling
- Home additions & ADU
- Roofing
- Windows & doors
- Driveway & pavers
- Fence
Table of Contents
- The first failure point: what the end of demo reveals
- How to check cabinet installation before countertops are templated
- Scribe molding and filler strips: cover-up or craftsmanship
- Documenting tile defects so your complaint meets the standard
- Appliance rough-in dimensions and the templating mistake
- “Within tolerance” – how to find the actual number
- The final punch walk: what to inspect and what to sign
- Common mistakes to avoid
The first failure point: what the end of demo reveals
The end of demolition is where a project either gets squared away or starts to drift. Hammer work is easy to watch. What matters is what’s underneath the old kitchen when the cabinets and flooring come out. Those first hours are the last chance to correct structural surprises without eating into the cabinet budget.
In McKinney, older kitchens – especially in the historic blocks near the downtown square – regularly turn up framing that was patched over during a 1980s rework and never brought up to current code. We’ve seen closet flanges sitting two inches off from current rough-in standards, and outlets wired to the old two-wire setup that won’t support a modern appliance load. In newer builds west of Custer Road, the surprise is usually the opposite: a builder-grade kitchen that looks solid on the surface but has subfloor panels nailed instead of glued and screwed, so the new tile field will telegraph every joint if the substrate isn’t addressed.
Here’s what the end of demo should always include in writing:
- A written note of any unexpected structural, plumbing, or electrical finding, with a photo
- A confirmation that the electrical panel can carry the new appliance load, not a verbal guess
- A subfloor inspection note stating whether the existing substrate is acceptable for the specified floor covering
- Any adjustment to the written price before work proceeds, not after
The change order is where no-shows and surprise invoices get born. If a finding during demo triggers extra work, that work should be priced in writing before it happens. A written price before any work starts is the single discipline that separates a calm project from a dispute.
If you’re still at the planning stage and haven’t started demo, our Kitchen Remodeling in McKinney page walks through scope sequencing. The Bradford Remodeling Co McKinney home page explains how the written price is put together before a single tool comes out.
How to check cabinet installation before countertops are templated
This is the most important inspection of the entire project, and it happens roughly one week too early for most homeowners to know to do it. Once the countertop is templated to a bad cabinet run, the mistake is cast into stone – literally – and the fix is expensive for everyone. Nine times out of ten, a cabinet complaint that surfaces at punch could have been caught here.
Cabinet runs must be plumb, level, and in the same plane. A competent installer sets the frames true before fastening, but that’s not what you verify. You verify the result.
Here’s how to check cabinet installation before templating, in order:
- Set a 6-foot level along the face of each cabinet run. Check horizontally at the top rail and the bottom rail. A gap you can slide a credit card under at one end is a problem. Gaps larger than 1/16 inch over 6 feet mean the run is out of plane and needs correction before templating.
- Run a string line across the front of the upper cabinets. Stretch it from one end cabinet to the other and look along the line. If the doors of one cabinet sit forward of the line while the middle ones sit behind it, the frames are not coplanar. Doors will not align after installation, and no hinge adjustment fixes a crooked box.
- Check plumb with a 4-foot level on the side of an exposed end cabinet. A run that leans means the countertop will follow the lean.
- Open and close every door and drawer. Any binding, rub, or gap over 1/8 inch at the face frame is a defect to log before templating.
Why does this matter in McKinney specifically? The soil here is expansive clay, and seasonal movement stresses foundations. A cabinet run that was level at install can be out of plumb by the time a hot July rolls around if the framing underneath wasn’t true to begin with. The 6-foot level and string line are your diagnostic tools – they tell you whether the substrate was properly prepared before the boxes went in.
Scribe molding and filler strips: cover-up or craftsmanship
Scribe molding and filler strips are the trades’ honest tools for handling the reality that no room is perfectly square. A wall that’s 1/4 inch out of plumb over 8 feet is normal. Scribe molding exists to close that gap cleanly. Filler strips sit between cabinets where the run meets an obstruction – say a window or an appliance opening – and bridge the small gap between the stock cabinet and the required dimension.
What they’re not supposed to do is quietly hide a layout that was planned wrong. The difference is easy to see once you know what to look for:
- Legitimate scribe: narrow, consistent width, follows the wall’s actual contour. Used where cabinet meets wall or ceiling.
- Legitimate filler: 1/2 inch to 3 inches, sized to a planned gap. Used where a stock cabinet won’t fit a planned dimension.
- Cover-up: a 3-inch scribe where there should be a 3/8-inch one. That means the cabinet run was cut too short. A 6-inch filler between two cabinets means the layout was mis-measured by the time it hit installation.
The trade-term test: if you can measure a scribe or filler wider than what you’d expect from the drawing, ask to see the layout plan. If the plan says 2 inches and the install has 6, the layout was off, not the wall. That conversation needs to happen at install, not at punch. Discussing it after the countertop is on doesn’t stop the countertop from following the mistake.
When Bradford’s crews install KraftMaid or Wellborn cabinetry, the fillers and scribes are cut to the drawing, and the plan is on-site. A written scope means the homeowner knows the planned dimension before the fillers go up, and any deviation from the drawing gets flagged on the spot.
Documenting tile defects so your complaint meets the standard
Tile complaints are the ones homeowners most often lose, because the language is vague and the contractor’s response is easy: “It’s fine.” Vague complaints go nowhere. Written complaints that cite a standard get action. The standard for ceramic and glass tile installation in residential and commercial projects is ANSI A108, published by the Tile Council of North America, and it defines the tolerances your contractor is held to.
Two defects dominate kitchen tile disputes: lippage and grout inconsistency. Lippage is the vertical offset between adjacent tile faces. Grout inconsistency is variation in joint width or color.
Here’s how to document a tile defect so the written complaint lands:
- Photograph with scale. Place a coin or a tape measure against the defect. A photo without scale proves nothing, because tile lippage of 1/16 inch looks like a mountain in a close-up.
- Measure lippage across a flat surface. Use a straightedge laid across the tile joint. The offset at the exposed edge of the tile is your number. For glazed wall tile, ANSI A108 tolerance for lippage is around 1/32 inch on a joint with a 1/16 to 1/4 inch width. Floor tile has its own spec. Look up the exact number for your tile type and joint width, because the standard differs.
- Reference the standard in writing. Your complaint should read: “Lippage on the [location] tile exceeds the ANSI A108 tolerance of [number] for [tile type] with [joint width] joints. Photos attached.” That’s not legal language. It’s clear language.
- Copy the schedule. In your written complaint, restate the date the defect was first observed, the date it was reported verbally, and the date you’re putting it in writing. The written trail is a clock.
Grout inconsistency needs the same treatment. Grout color variance of more than one shade step across a continuous field is a defect. Joint width should match the schedule – if the plan calls for 1/8 inch and the installer ran 1/4, that’s not “the look,” that’s off-spec.
In McKinney, the tile substrate matters even more than the tile. Expansive clay movement is real, and a tile field laid over a subfloor that wasn’t prepped for deflection will crack, no matter how good the installation. Deflection is the flex in the floor structure when you stand on it. If the subfloor deflects too much, the thinset and grout crack. The proper fix is substrate work, not fresh grout. Our General Contractor in McKinney page covers how substrate preparation fits into a broader project scope.
Appliance rough-in dimensions and the templating mistake
Here’s a mistake that costs homeowners thousands and shows up too late to fix cheaply: countertop templating happens before the actual appliance specs are verified. The template is cut to the manufacturer’s “nominal” dimensions from a catalog page. The appliance arrives. The appliance’s actual rough-in dimensions are different. The countertop has to be re-cut or replaced, the cabinets have to be adjusted, and there’s a delay.
Rough-in dimensions are the exact cutout and clearance measurements the appliance requires. They are not the same as “a 30-inch range” – the range is 30 inches at the body, but the actual appliance may need 30-1/16 inches of finished opening, or 1/4 inch of clearance at the sides, or a specific depth behind the countertop for the gas valve. The catalog footprint is not the spec.
The correct sequence is fixed:
- Order the appliance, not the “planned” appliance. Confirm the actual model number and pull its installation manual from the manufacturer’s site.
- Verify the rough-in dimensions against the cabinet plan. Walk every dimension: width opening, depth, height of finish floor to countertop, electrical outlet location, gas stub location for a gas range, dishwasher drain line height.
- Send the model number and its installation manual to the countertop fabricator in writing. The fabricator templates from the manual, not the catalog.
- Confirm the appliance is in the driveway or warehouse before the countertop is cut. Not ordered. Physically present, ready to measure.
This is the checklist Bradford uses on every kitchen. Whether you’re running a Kohler sink, a Moen faucet, or a standard slide-in range, the appliance’s actual rough-in is the only number that governs the cutout. Catalog numbers don’t. We’ve seen a McKinney kitchen where a slide-in range was templated to 30 inches exactly, and the actual range needed 30-3/16. That’s a 3/16 inch error on the countertop and the range doesn’t fit. The fix is a new countertop, or a shaved cabinet, and neither is cheap.
“Within tolerance” – how to find the actual number
When a contractor tells you a defect is “within tolerance,” that sentence means one of two things. Either the contractor knows the actual tolerance standard and can cite it, or they don’t. You can ask the question and end that ambiguity in one line.
Tolerances in kitchen remodeling come from several sources: ANSI standards (tile, cabinetry, stone fabrication), manufacturer installation manuals (every appliance and fixture), building codes (electrical, plumbing, framing, and in Texas, the National Electrical Code as adopted locally), and the drawings in your contract. Each trade has its own number.
The ask is simple. In writing, ask the contractor to state:
- The specific tolerance standard being referenced, by name and code number
- The number the standard sets for that defect
- The measurement observed on the actual job, with the measurement method used
If the contractor can’t produce all three, the claim of “within tolerance” isn’t a defense. It’s a deflection. A competent crew chief will simply respond with the standard and the number. A contractor who can’t quote the standard doesn’t have a written position to stand on.
The other place tolerances get tested is cabinetry. Cabinet plumb around a refrigerator opening – the “built-in” void where the fridge slides in – has its own tolerance. A cabinet run that’s out of plane by 1/8 inch over 4 feet will usually look acceptable at the doors but will show at the refrigerator opening. That’s a fix of the cabinet run, not the refrigerator.
The final punch walk: what to inspect and what to sign
The punch walk is where homeowners lose leverage, not because they sign a punch list, but because they sign the wrong one. A punch list should be a written scope that gets closed out. If it’s a verbal walk that ends with a handshake and a check, the contractor’s obligation is now governed entirely by the written guarantee and nothing else.
Whether you’re running a remodel through Bradford or anyone else, the punch walk should cover:
- Every cabinet door and drawer – open and close, check for binding, gap, and rub at the face frame
- Every tile field and joint – lippage, grout color, grout width, and any hollow-sounding tile (tap with a coin, listen for a change)
- Every appliance – the appliance is physically present, the cutout is clean, the electrical and water connections are verified by the appliance’s own start-up
- Every plumbing fixture – no leak at the trap, no drip at the supply, the valve operates smoothly
- Every electrical outlet and switch – test each one, confirm the GFCI trips, confirm the dedicated circuit for the microwave
- Every cabinet-to-wall and cabinet-to-ceiling joint – scribe and filler are as planned, caulk line is straight
- The written guarantee – the document itself, in hand, stating what’s covered and for how long
Follow the walk with a written punch list, dated, with a photo of each item. Sign that. Not the other kind. The distinction between a written punch list and a handshake is the difference between a project with a documented close and a project that depends on the contractor’s memory.
Bradford’s 365-Day Done Right Promise is a full-year written guarantee on every completed project. If the work fails inside that window, we come back and correct it at no charge. That sentence is in writing, and it’s the entire point of the closeout. The Bathroom Remodeling in McKinney page describes the same closeout discipline for bath projects.
Common Mistakes to Avoid
- Signing the final check before the countertop is templated to the actual appliance. Once the check clears, every problem you’d normally raise becomes a favor you’re asking for. Verify the rough-in first, then sign.
- Accepting “within tolerance” without the number. A contractor who can’t cite the standard and the number has no written position. Get both in writing before you agree to anything.
- Letting a 6-inch scribe go unchallenged. A scribe that wide isn’t closing a wall gap. It’s hiding a layout mistake. If the width doesn’t match the drawing, stop the install.
- Reporting a tile defect verbally only. Verbal complaints get answered with verbal reassurances. Snapping a photo with scale and citing the ANSI A108 tolerance in writing turns a “looks fine” into a scheduled repair.
- Letting a change order happen without a written price. Demo surprises happen, but the price should be in writing before the extra work begins. No written price, no extra work.
- Treating the punch walk as a formality. The punch walk is a full inspection of every cabinet, tile joint, fixture, and appliance. Whoever walks it with you is the last line of defense before closeout.
- Not getting the guarantee in hand at closeout. A guarantee that isn’t written down and delivered is not a guarantee. Ask for the document, read the coverage, and keep it.
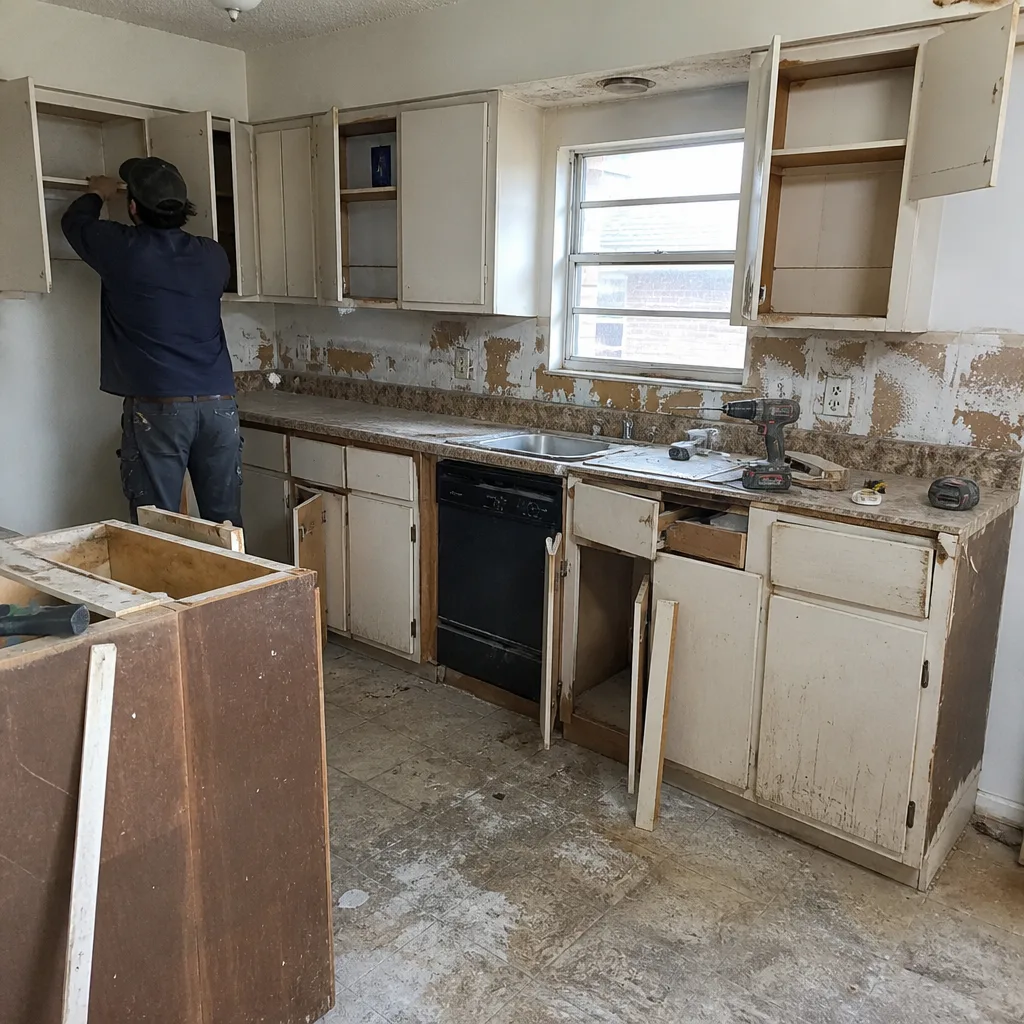
See the difference
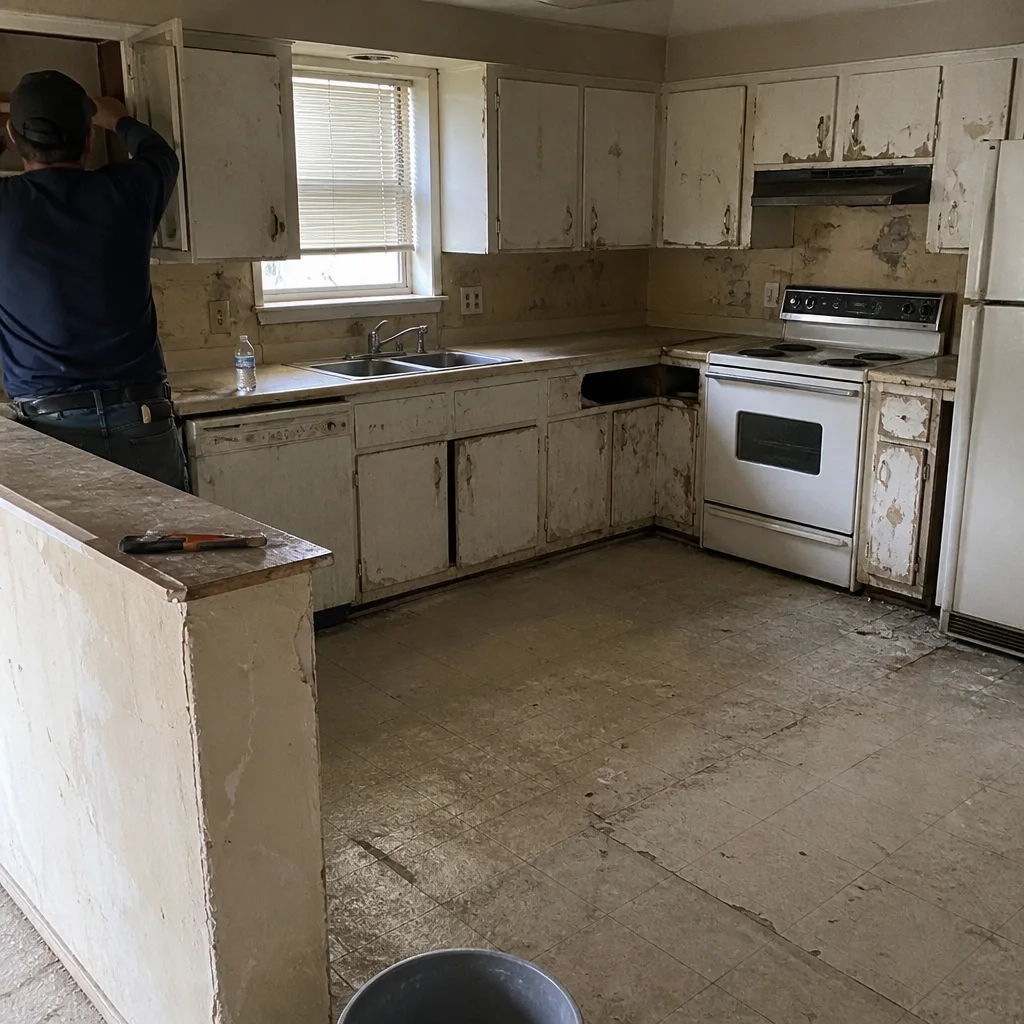 Before
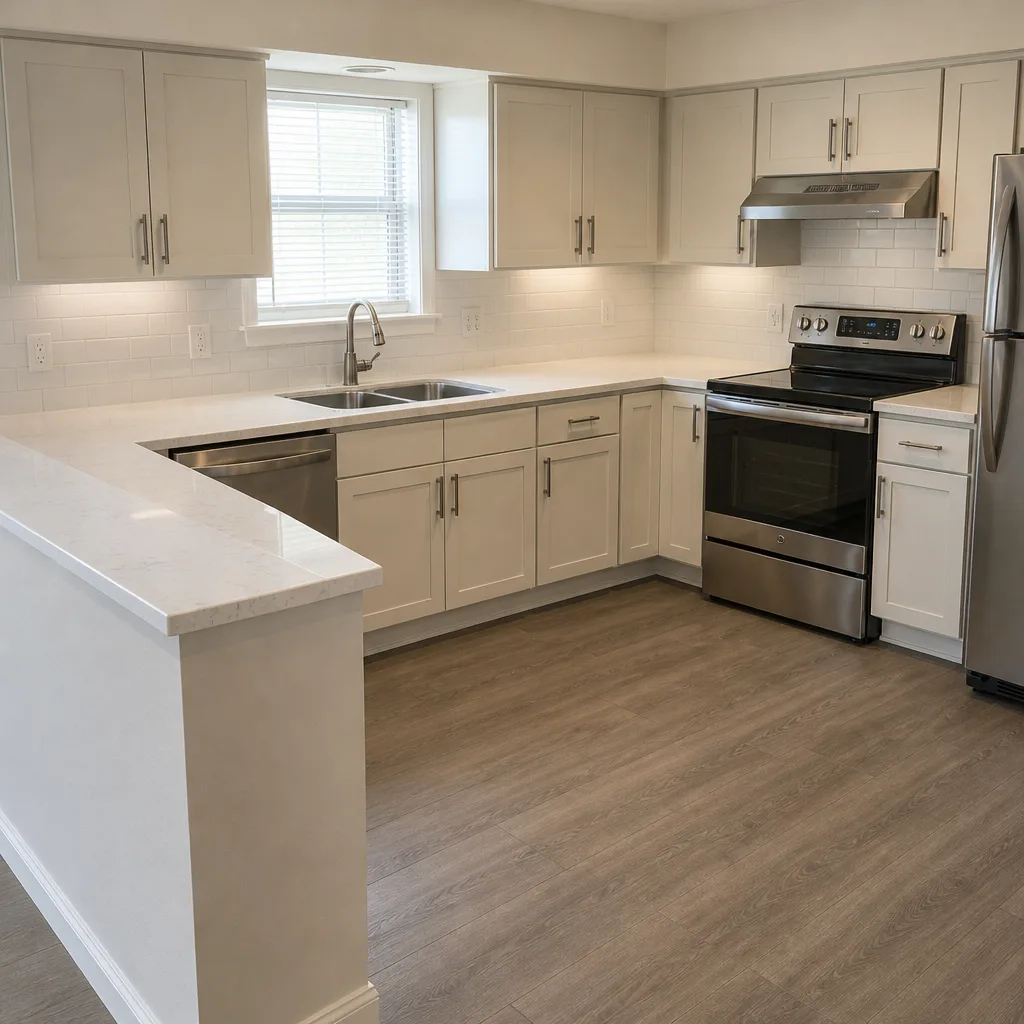 After
 Before
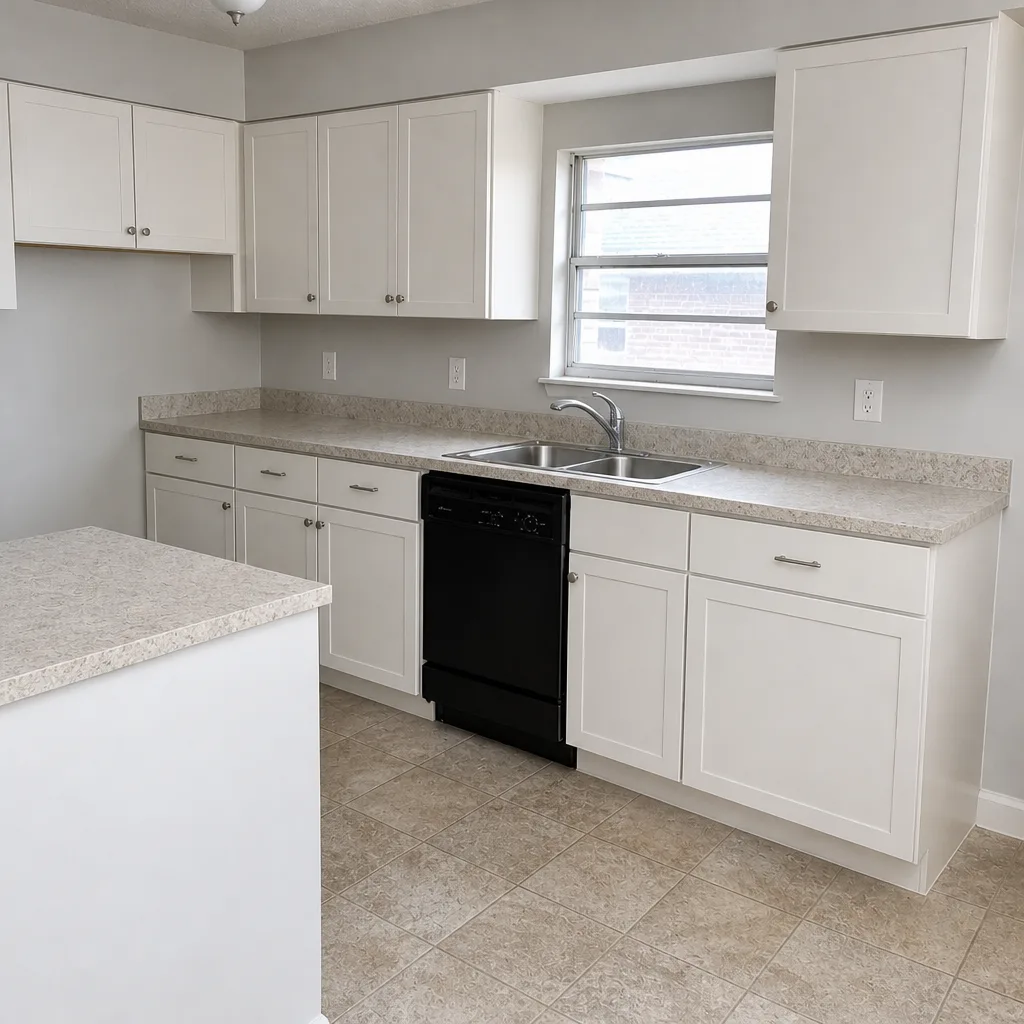 After
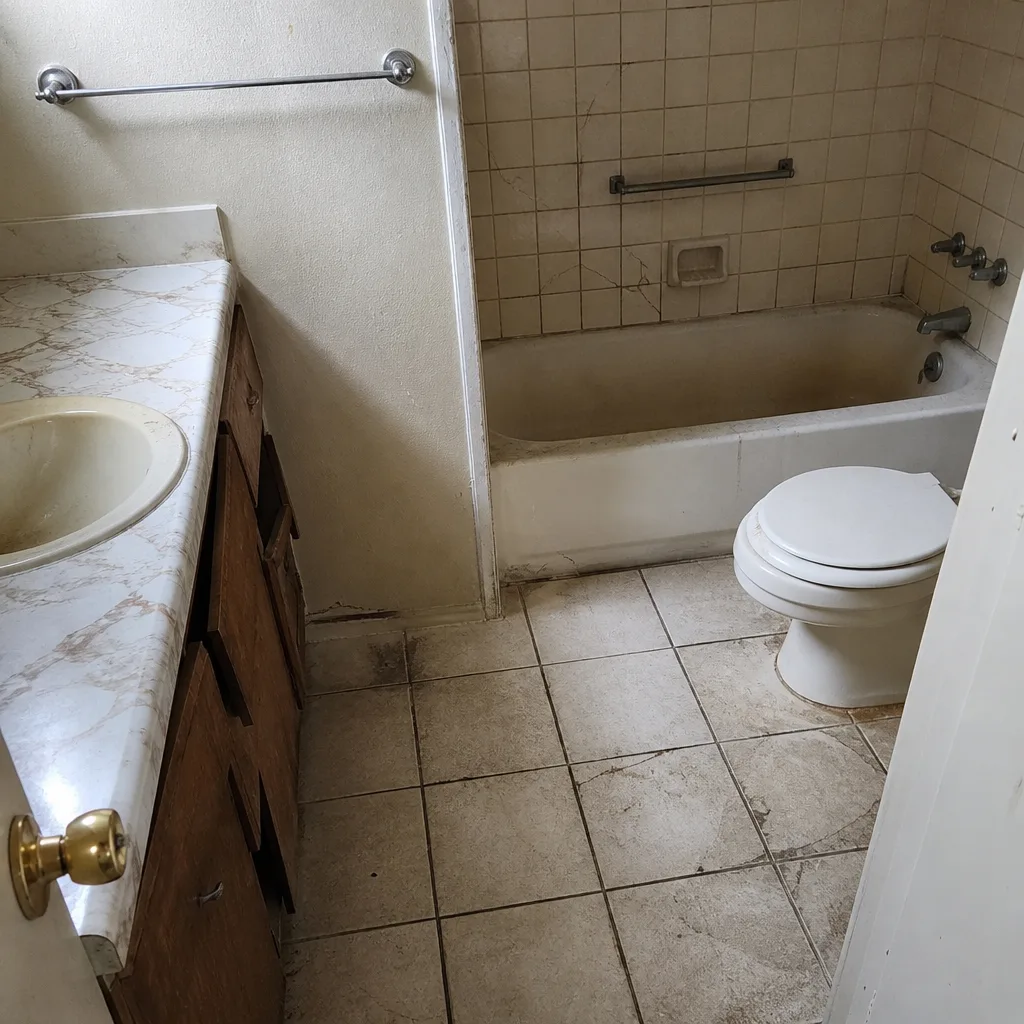 Before
 After
When to Call a Professional

Some of these fixes are worth attempting yourself – checking a level against a cabinet run, photographing tile lippage, or confirming that an appliance has arrived – because those are diagnostic steps, not work. What needs a trained professional is the fix itself when it involves cabinet removal and reinstall, countertop re-templating, or tile repair over a substrate that needs correction. There’s a reason: correcting a cabinet run usually means disconnecting the countertop, which is stone, which is heavy, and which can crack if moved by untrained hands. And correcting a tile field sometimes means addressing the subfloor underneath.
If you’re in McKinney and you’re at the point where a defect needs to be fixed – not just documented – Bradford Remodeling Co McKinney offers free estimates with a written price before any work starts. A live person answers the phone, 24/7. Call (844) 834-0609 to schedule your free estimate.
Frequently Asked Questions
Run a 6-foot level along the face of each cabinet run and stretch a string line across the upper cabinets. Any gap you can slide a credit card under, over about 1/16 inch across 6 feet, means the run is out of plane and needs correction before templating. Do this before the fabricator arrives, because a template cut to a crooked run bakes the defect into stone.
Lippage tolerance comes from ANSI A108, published by the Tile Council of North America, and the number varies by tile type and joint width. For glazed wall tile with joints in the 1/16 to 1/4 inch range, the standard tolerance is around 1/32 inch. Look up the exact number for your tile type, then measure and photograph your actual lippage against that number. Call (844) 834-0609 if you’d like us to walk a McKinney job with you.
Yes, but it’s the expensive version. The countertop usually has to come off to correct a cabinet run that’s out of plumb, and on stone countertops that means a partial reinstallation at minimum. That’s why the correct time to check is before templating, not after. Once the stone is cut to the crooked run, the correction is a cabinet remount plus a countertop refit.
“Within tolerance” means the measured defect falls inside the range allowed by a standard. Ask the contractor to state the standard by name and number, the allowed range, and the measured actual on your job. If they can’t provide all three in writing, the claim isn’t verifiable. On a McKinney project, we put every tolerance reference in the written scope so there’s no gap in the record at closeout.
Check every cabinet door and drawer for binding and gap, every tile field for lippage and grout color, every fixture for leaks, and every outlet and switch for function. Confirm the appliance is physically present and cut to spec. Then get the written guarantee in hand before you sign anything. The punch walk is your last inspection, not a formality.
Yes. Permits and inspections are part of the scope on any project that requires them, and the written scope lists the inspections that need to pass. McKinney’s permit requirements vary by project type, and the correct approach is to confirm the permit scope in writing before demo starts. Call (844) 834-0609 to walk through permit needs for your specific kitchen.
The Bottom Line

Kitchen remodel problems aren’t random. They cluster at demo, cabinet installation, and punch, and the homeowner’s leverage lives at each stage. Check the cabinet run with a 6-foot level and a string line before templating. Verify the actual appliance rough-in against its manual before the countertop is cut. Document tile defects with scale and reference ANSI A108 in writing. Ask for the actual number whenever a contractor claims “within tolerance.” And at closeout, get the written guarantee in hand before you sign. That’s the entire difference between a project that gets squared away and one that gets argued about for a year.
Technicians on our roster have up to 22 years of experience, and they install from a documented roster of name-brand materials – KraftMaid and Wellborn cabinetry, Cambria and Caesarstone surfaces, Kohler and Moen fixtures – so the specifications you reviewed are the specifications that get installed. Every completed Bradford project carries the 365-Day Done Right Promise in writing. If the work fails inside that year, we come back and correct it at no charge.
Call (844) 834-0609 for a free estimate on your McKinney kitchen. A live person answers, day or night, and you’ll have a written price before any work starts.
Written by the team at Bradford Remodeling Co McKinney.